Create an online showroom on your CFS website with optional online ordering
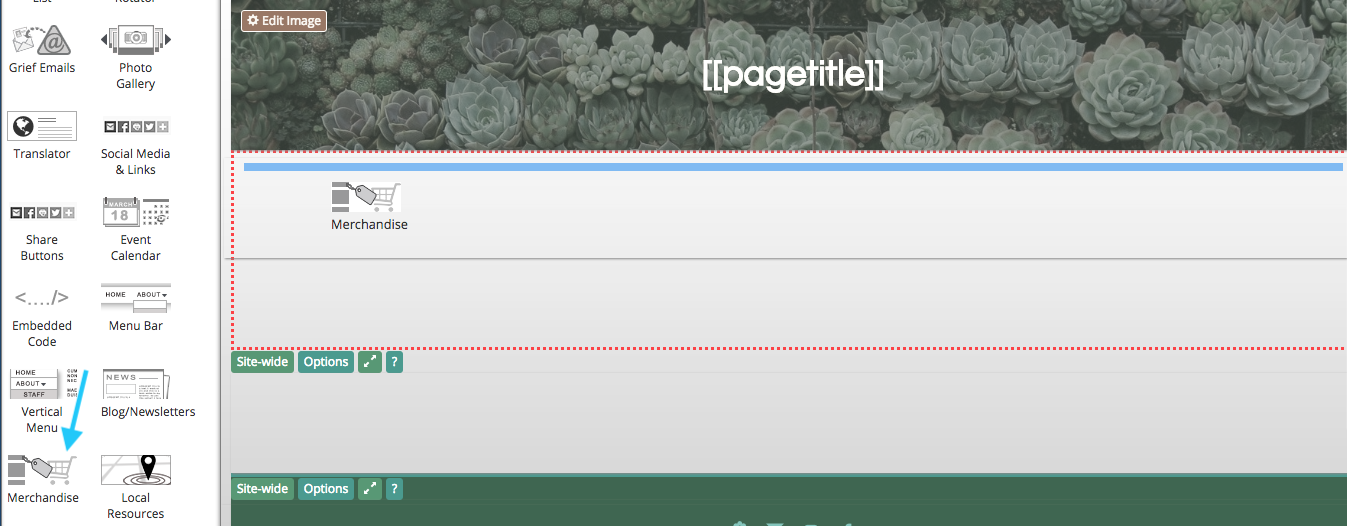
The merchandise widget is used to display items such as caskets, urns, and burial vaults. It can be found under the “Smart Objects” tab in the website editor.
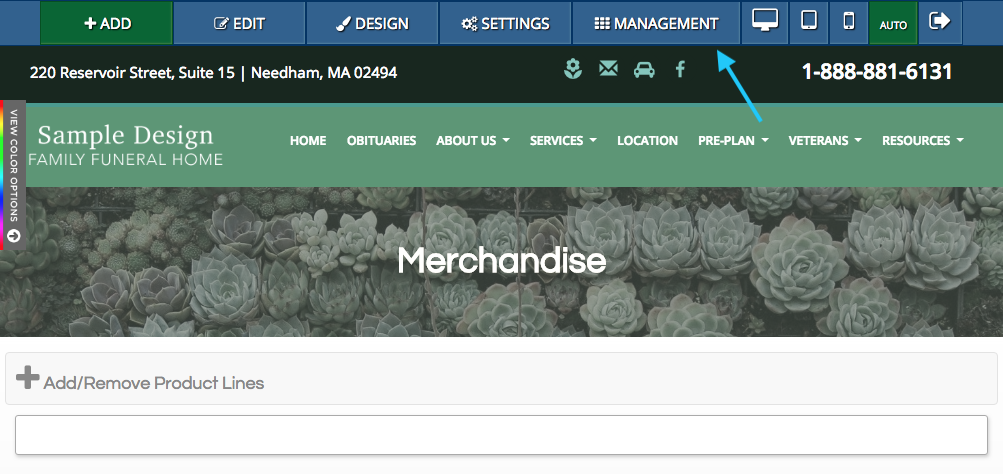
To display merchandise, you will first need to add product lines to your website. In the blue bar at the top of the page, click on “Management.”
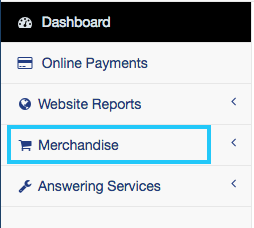
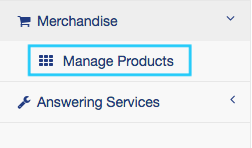
On the left side of the page, click on “Merchandise.”
From the drop-down menu, click on “Manage Products.”
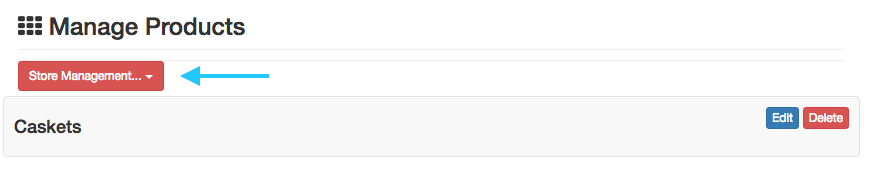
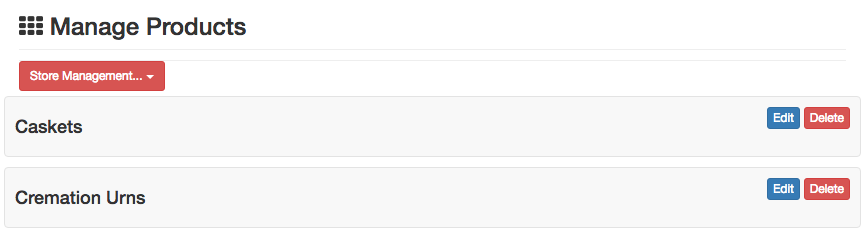
This page will allow you to create and edit product lines. Each added line will appear on this page. To create a new line, click on the red “Store Management” button.
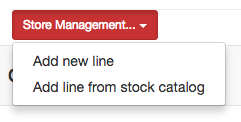
From the drop-down menu, you can either create a custom line or choose from a stock catalog.
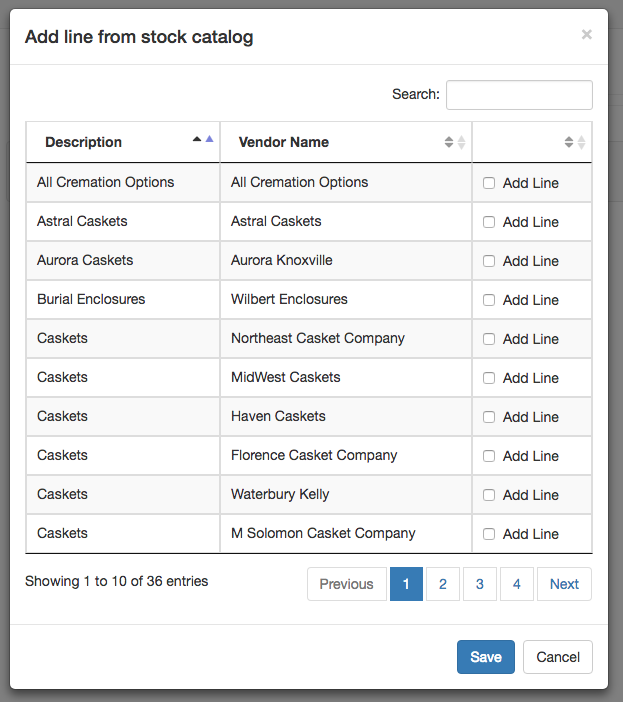
The stock catalog is a collection of product lines already added to the CFS system. Click on the “Add Line” check box at the end of each listing to add the line to your management portal. You can still customize a stock line once you have added it. Click the “Save” button to update your portal.
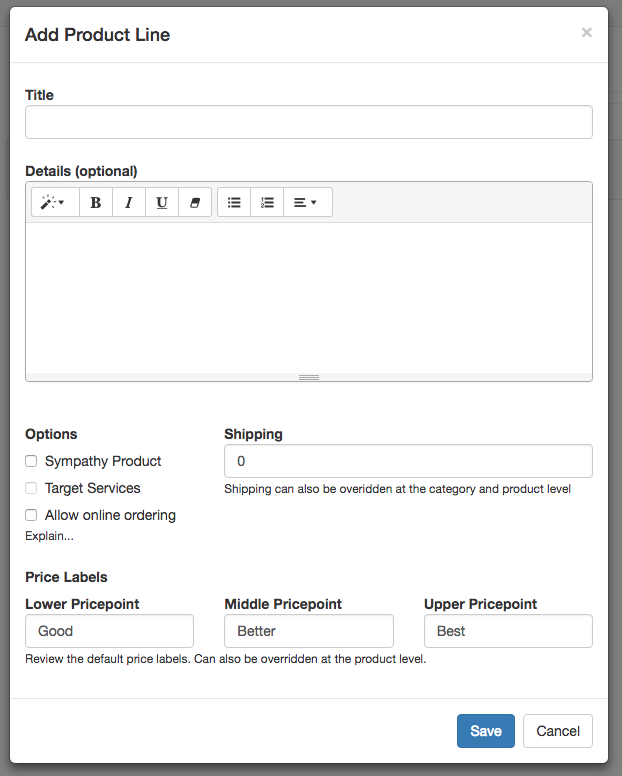
Adding a custom line will allow you to create one from scratch. Begin by titling your line. If you want to enable online ordering, click the third checkbox under “Options” below the “Details” text box.
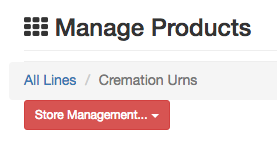
Once you have created a new line, click on its title to begin adding and editing categories and products.
At the top of the page, click on the red “Store Management” button.
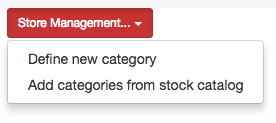
From the drop-down menu, you can create a new category or select from the stock catalog.
The stock catalog will allow you to add specific types of products without adding the entire line. Click on the checkbox on the right side of a listing to add it to your line.
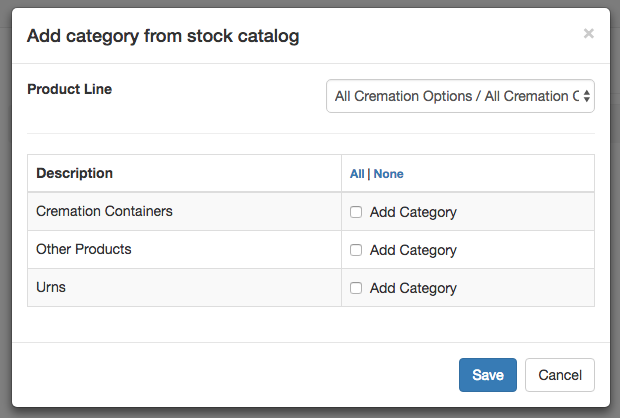
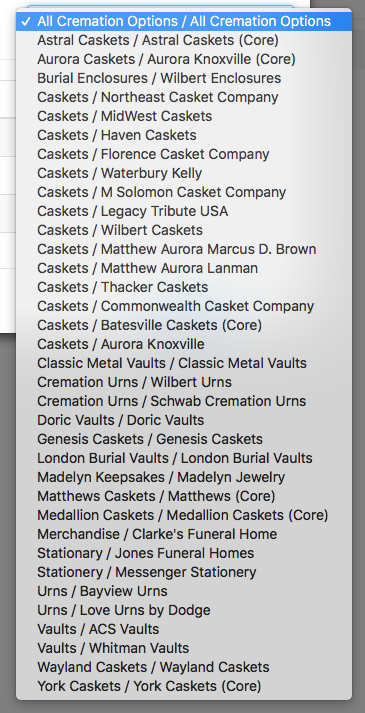
Click on the drop-down menu in the top right corner of the pop-up window to browse all stock lines.
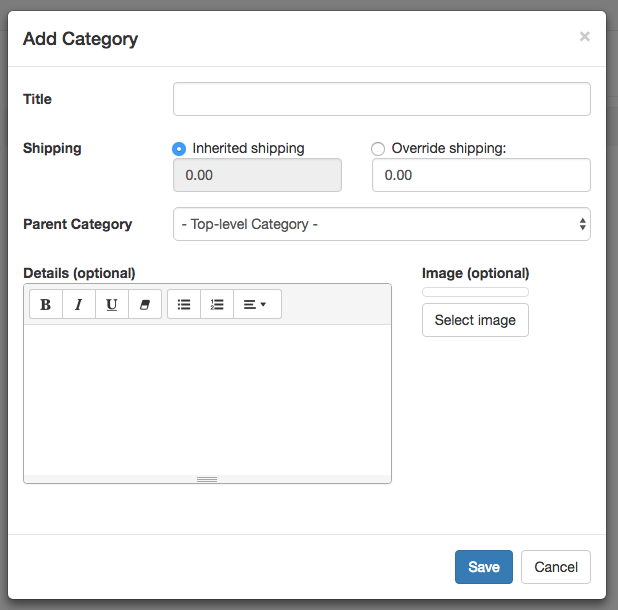
When adding a new category, enter its title at the top of the pop-up window. You can also add a description and picture in the bottom section of the box.
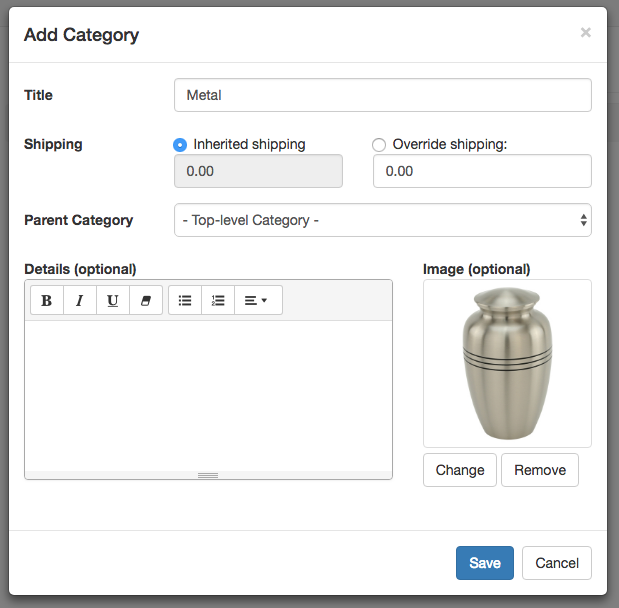
After uploading a picture, you can edit or delete it with the two buttons below the image preview.
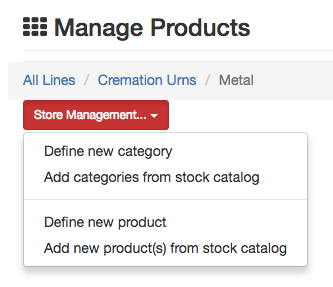
Once you have added a category, you can begin to add products. Click on the red “Store Management” button. In the bottom section, click on “Define new product.”
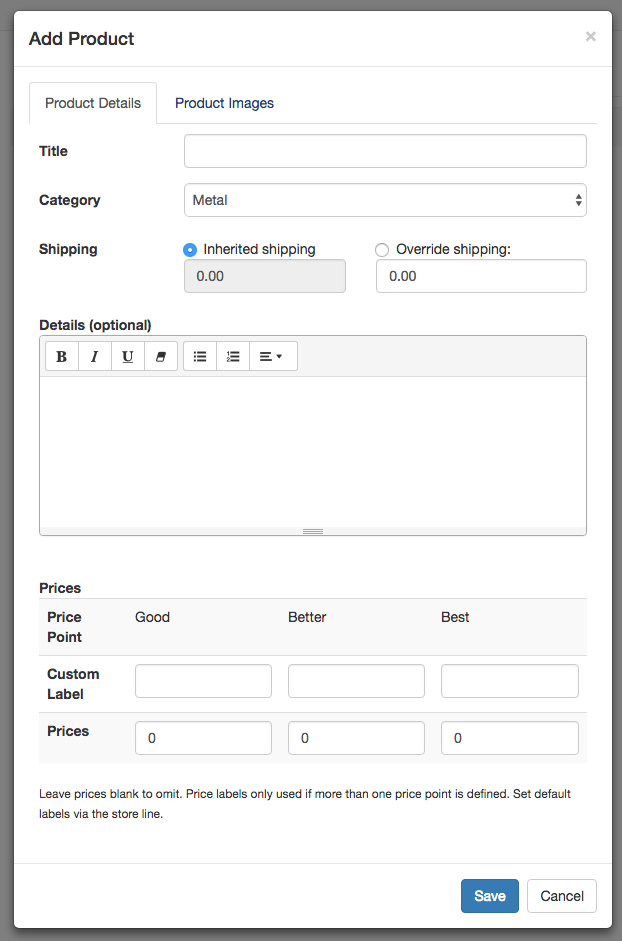
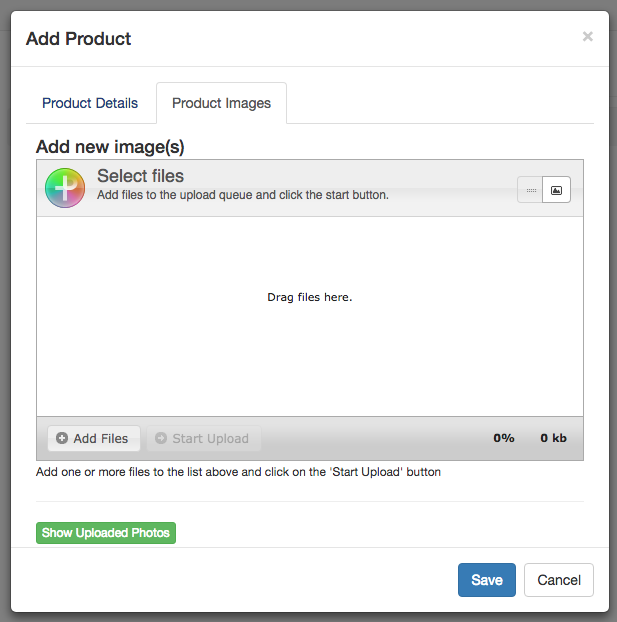
A pop-up window will appear on the screen. Enter the product name in the top text field. Use the “Product Images” tab directly above it to upload a photo.
Add an image file by either clicking and dragging it from your desktop into the white box or by clicking “Add Files” in the bottom left corner or the uploader. Click “Save” in the bottom right corner of the window to add the product and upload the photo.
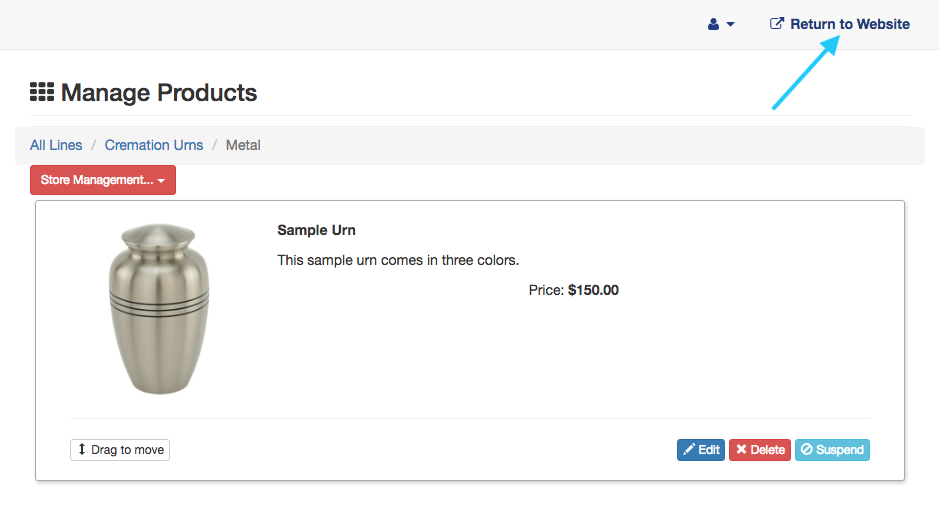
Once you have added a product, you can edit it at any time by clicking the dark blue “Edit” button in the right corner of the box. The light blue “Suspend” button can hide the listing from the public view of the website without permanently deleting it.
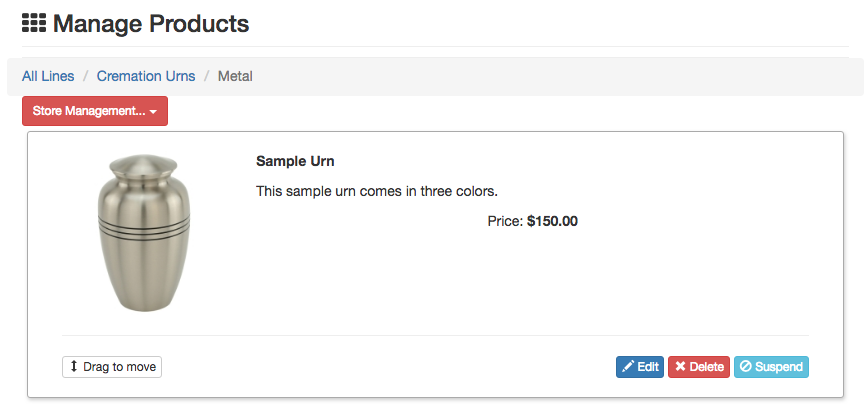
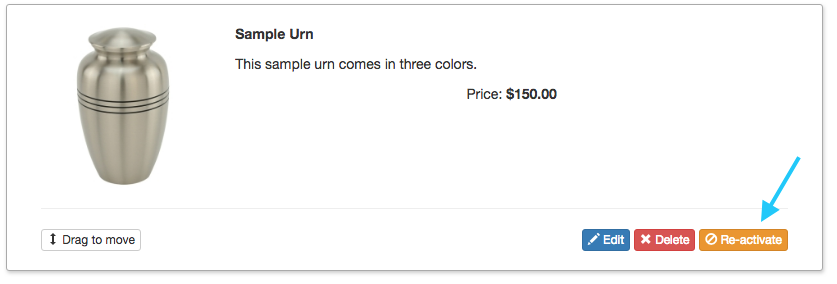
Clicking the “Suspend” button will toggle the product. You can re-activate the item at any time by clicking on the orange button in the bottom right corner of the listing.
Once you have added a product line, you can then add it to a page on your website. Click on the “Return to Website” button in the top right corner of the page.
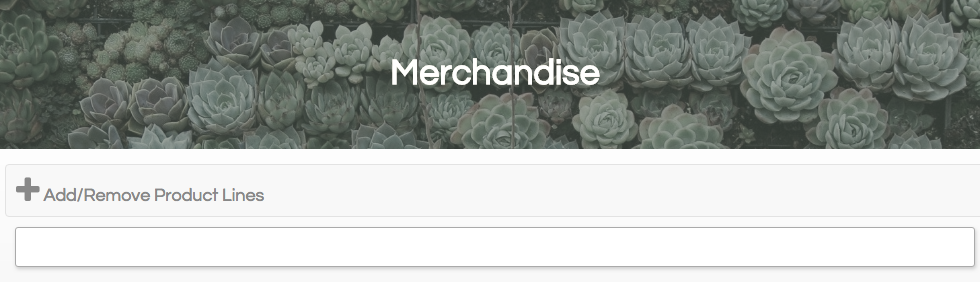
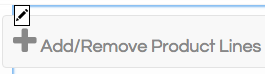
Navigate back to the page where you added the merchandise widget. Click on the bar that says “Add/Remove Product Lines.”
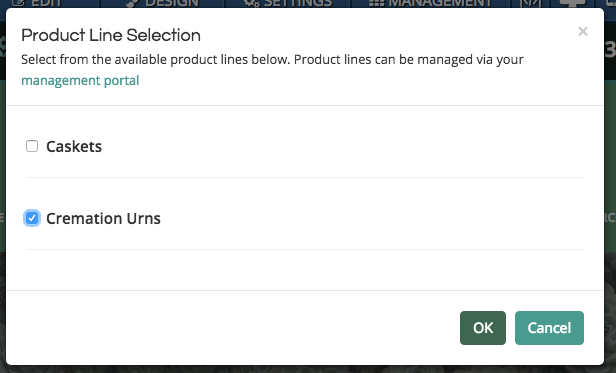
From the pop-up window, click on the checkbox next to each line you would like to add to the widget. You can add multiple lines to each widget. You can also add multiple merchandise widgets on your website, with each displaying a different line. Click “OK” to update the widget.
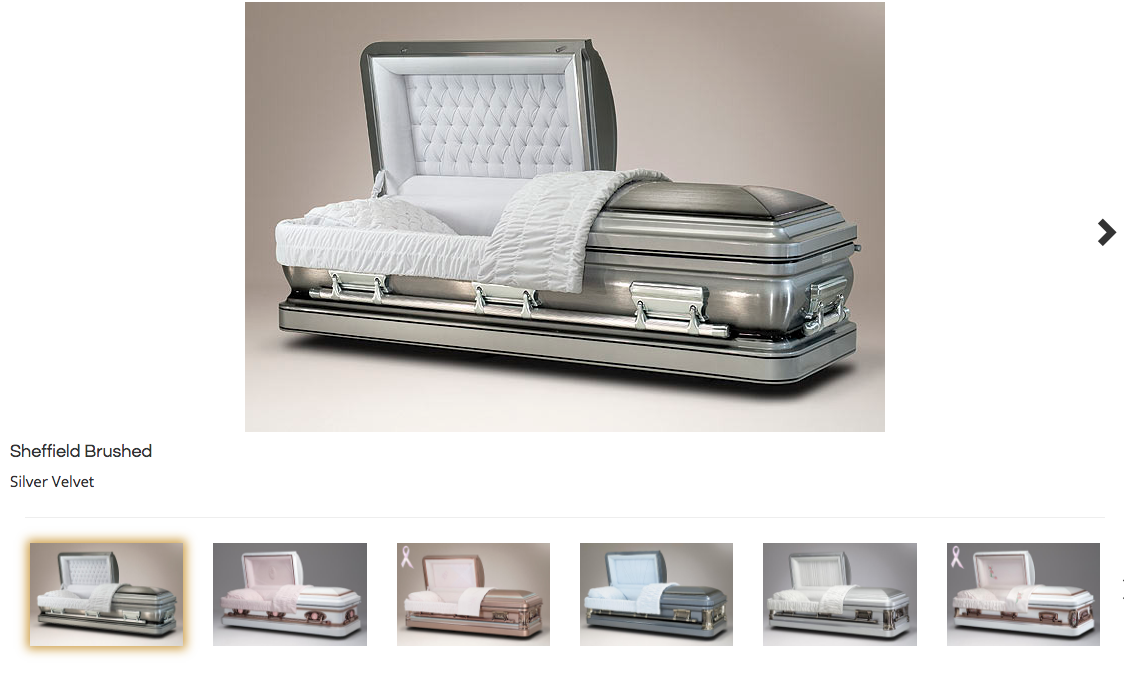
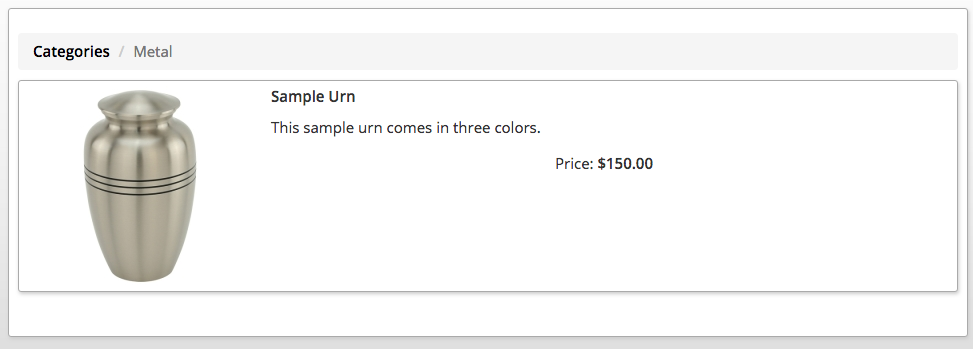
The products will now appear within the widget.
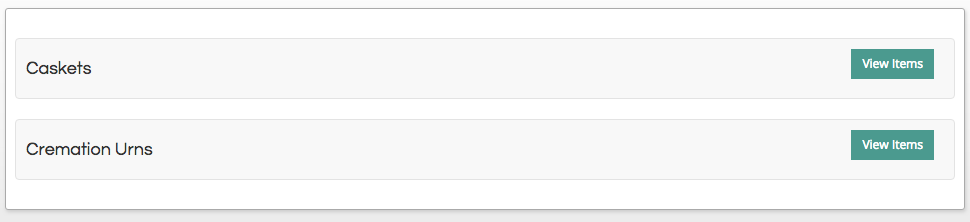
If you add multiple lines to the widget, they will be listed by their line title.
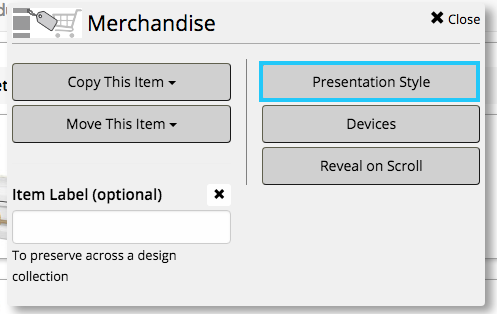
There are two listing options for the merchandise widget. When in editing mode, hover your mouse on the widget and click on the pencil button in the top left corner.
From the pop-up box, click on “Presentation Style” button.
Products can either be shown in a list, how they appear in the portal, or single item view. Click on the radio button next to either option to change the listing view.
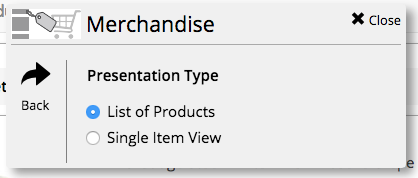
Single item view allows users to scroll through individual items with the arrows on the side of each picture, or by clicking on a preview image in the bar below.