
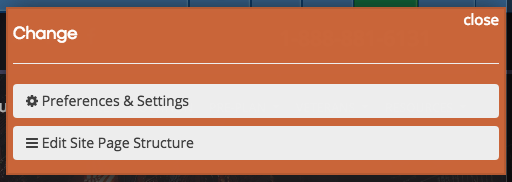
To create a new page on your website, first click on the “Settings” button on the blue bar at the top of the screen. From the orange drop-down menu, click on “Edit Site Structure.”
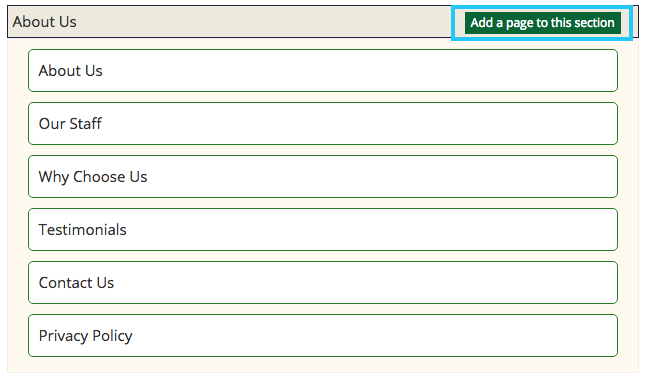
On the left side of the page, you will see website sections. The white boxes inside each sections are individual pages. To add a page, click “Add a page to this section” in the section you would like your new page to appear under.
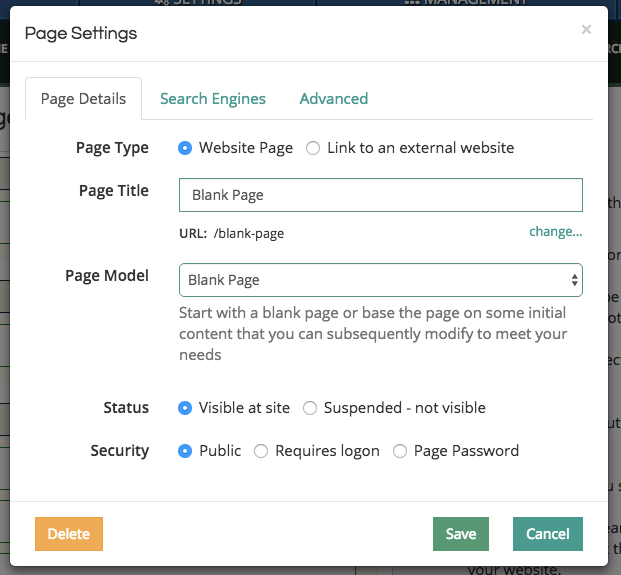
A pop-up box will appear on your screen. Enter the title of your page in the first box. The URL underneath will match the page title unless edited with the “Change” button directly below the box. You can also populate the page with stock content by clicking the drop-down menu next to the “Page Model” text. For a custom page, leave this set to “Blank Page.”
Scroll to the top and click the “Save” button next to “Overview” on the right side of the page.

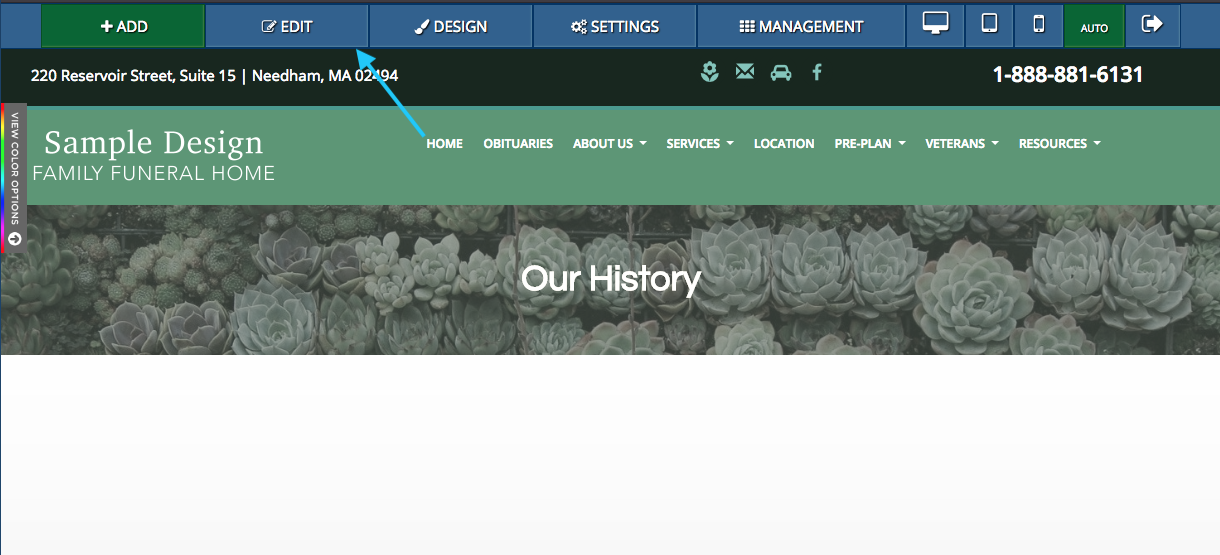
Once you have saved and refreshed the site, you will see the new page underneath the specified section. To begin building the page, first click on it in the menu. At the top of the page, click the blue “Edit” button.
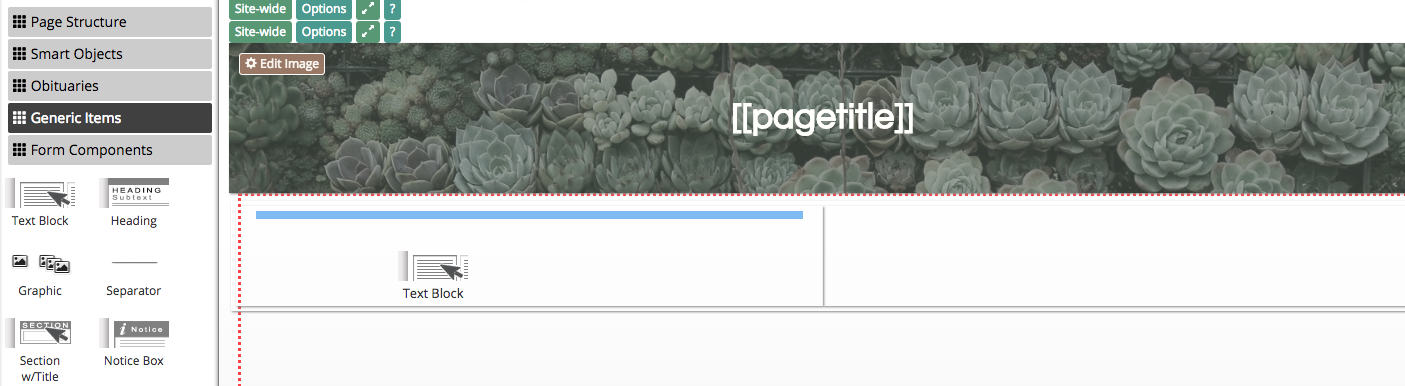
A sidebar will appear on the left side of the screen. These are widgets that can be clicked and dragged into the dashed red box on the page. The gray buttons at the top are different categories of objects that can be used to customize your website.
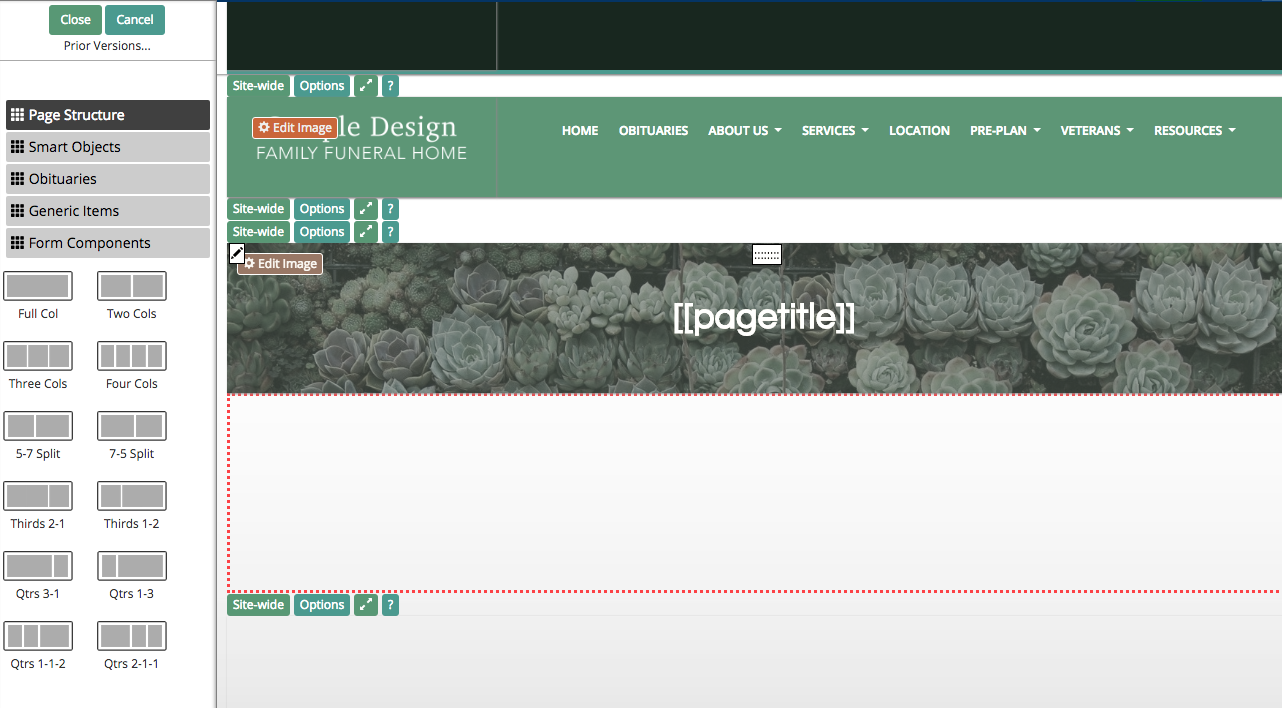
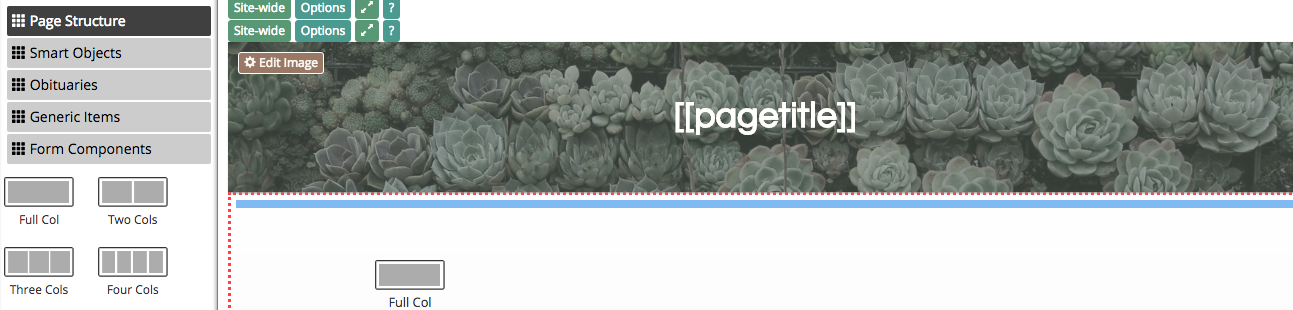
The first object you should add to a new page is a full column. This creates the body of the page and will apply any styles to the background if applicable to your site design. Other objects can be dragged inside the column. Page structure objects are invisible containers that organize objects on the website.
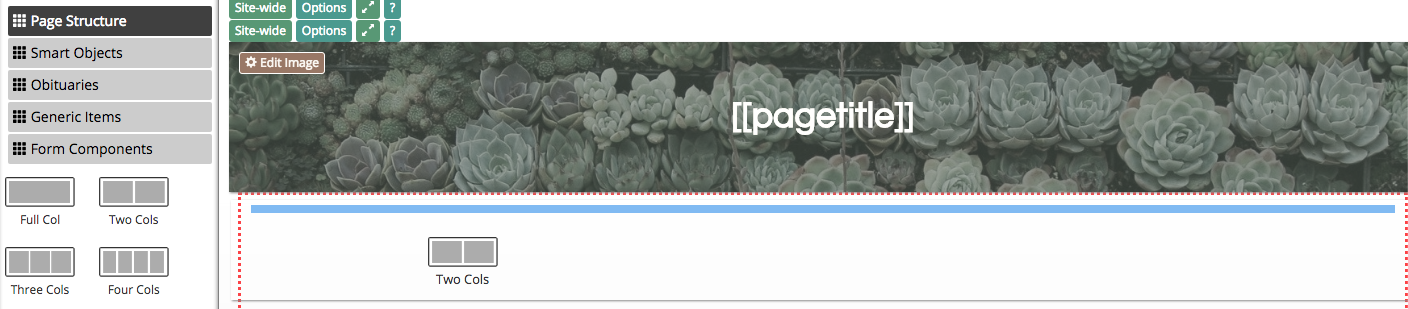
A two column object allows you to add widgets side by side, such as a picture and text.
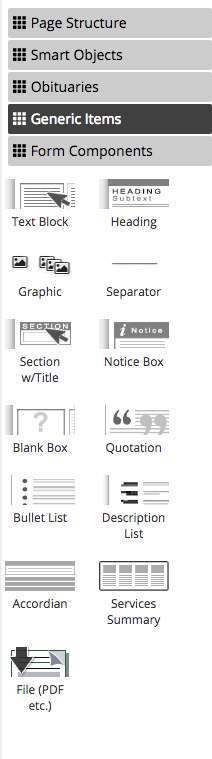
Generic items are basic objects used to build most pages. These include pictures, text blocks, and headers.
Click and drag a widget to add it to the page. The blue rectangle shows where the object will appear on the page when you release your mouse button. Even after an object is added, you can move it to a different position.
The graphic object allows you to add a photo to the page. You can either upload your own photo or choose one from the CFS stock library.
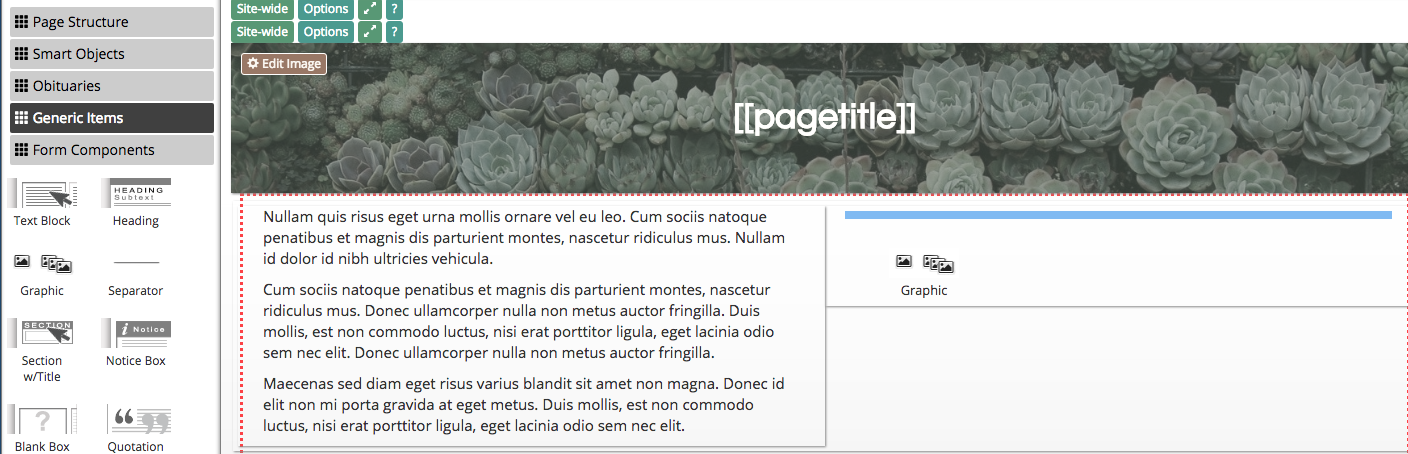
Click on the graphic object once it’s added to the page. A pop-up box will appear, allowing you to browse stock images. Click on an image and the “OK” button to add it to your website.

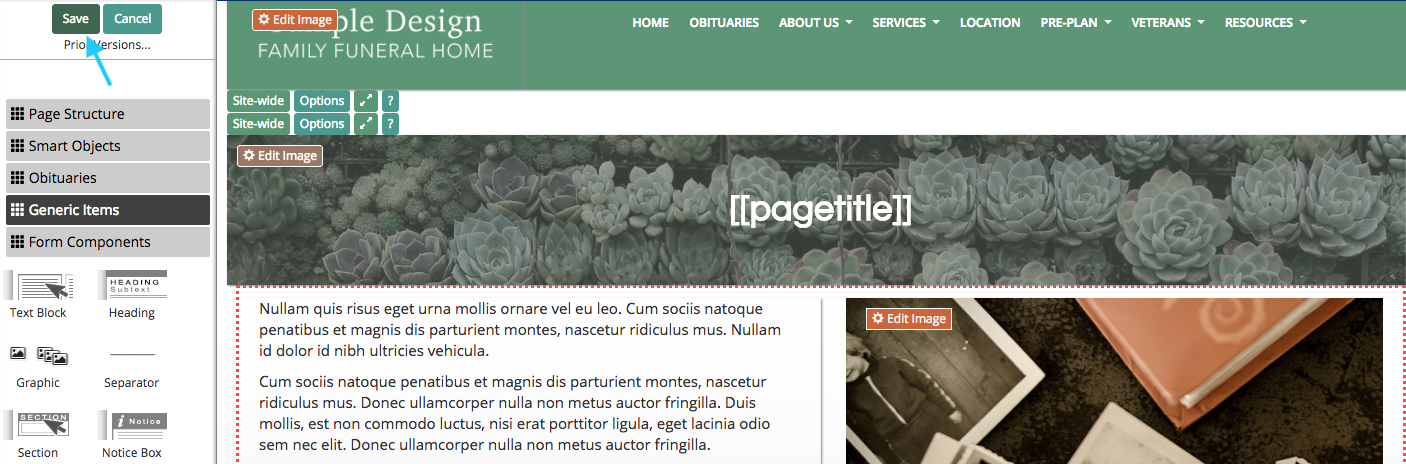
When you are finished making changes, be sure to click the “Save” button in the top left of the page.
There are many widgets available to customize a page. Browse through the “Edit” sidebar to experiment with different objects and build something unique.