
Customize your own rotating image collection on your CFS website.
An image collection is a rotating slideshow of photos. Many design masters use image collections as the main banner on the home page. You can create custom image collections when editing your CFS website.
To access the image collection, first click on the “Edit” button in the blue bar at the top of the screen.

You should see an orange button in the top left of the image collection. Click on it to enter the image editor.

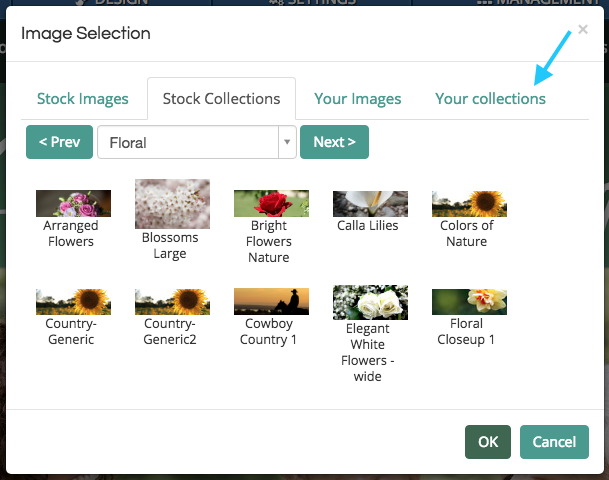
A pop-up window will appear on the screen. This window will allow you to choose from CFS stock image collections and create custom ones.
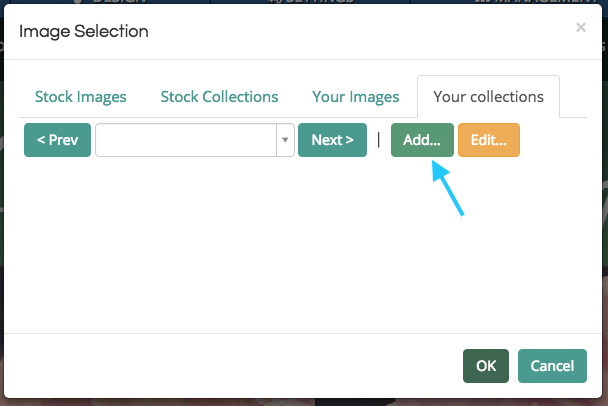
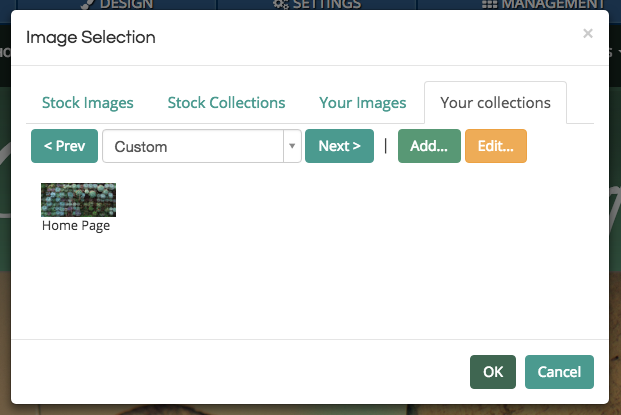
To create a custom image collection, first click on the “Your Collections” tab.
Click on the “Add” button to create a new collection.
A large window will appear on your screen. Stock banner images will appear in a large section on the bottom of the box. At the top, you will see fields for a name and categories.
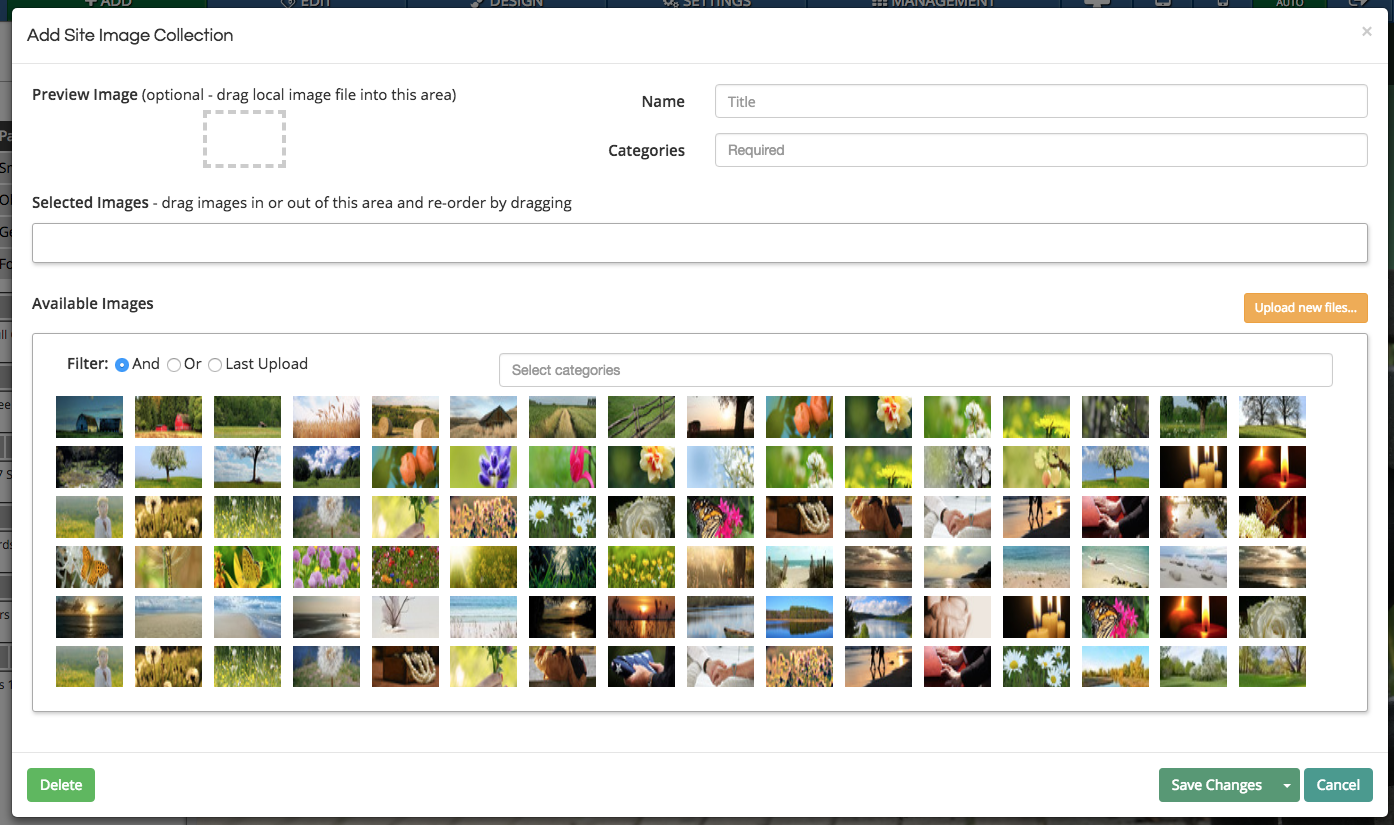
You will need to enter both a collection name and at least one category. Categories help to organize collections saved to your website.

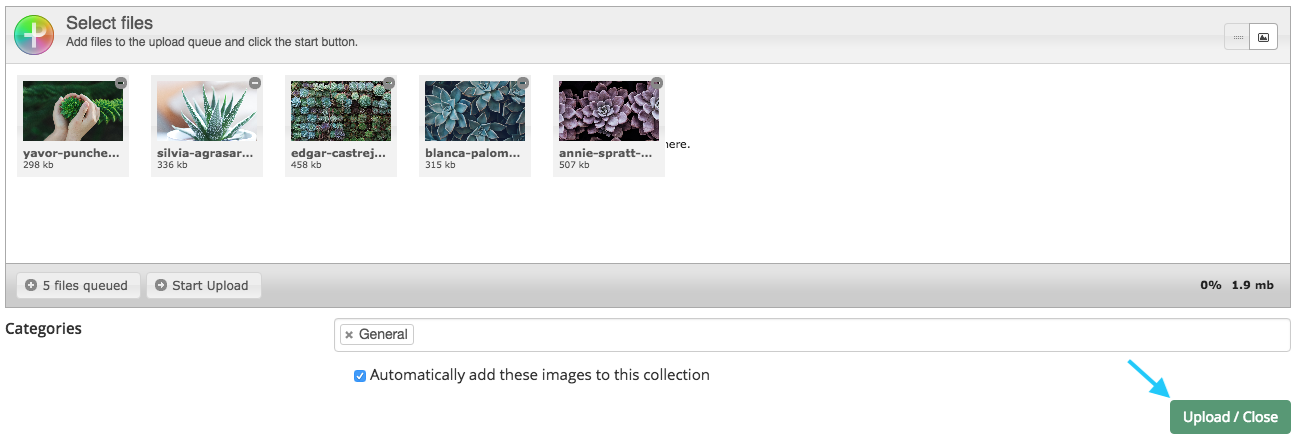
The selected image section will display all photos added to the collection. To upload files, click the button below the section on the right.

Upload image files by either clicking and dragging them into the white box or by clicking the “Add Files” button in the bottom left of the uploader.
Be sure that the images you add to the collection are either the same size or same height-to-width ratio. This will prevent the photos from being distorted or the collection changing shape when rotating on the webpage.
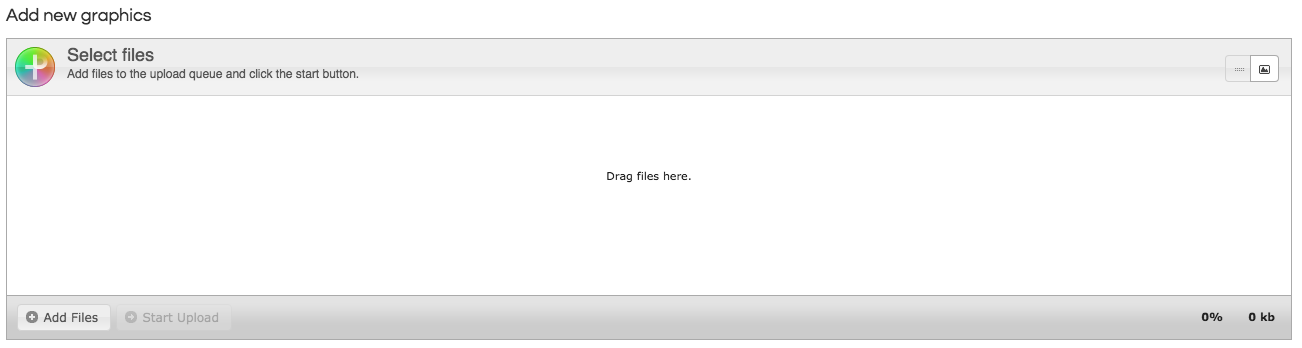
Once the photos have been uploaded, click on the “Upload / Close” button in the bottom right of the section.
Uploaded images will now appear in the “Selected Images” section of the image collection editor.

You can reorder images in the collection by clicking and dragging the image previews.

Click on the “Save Changes” button in the bottom of the window to create the image collection.

The new collection will now appear in the “Your collections” tab. Click on the image preview to change the banner.
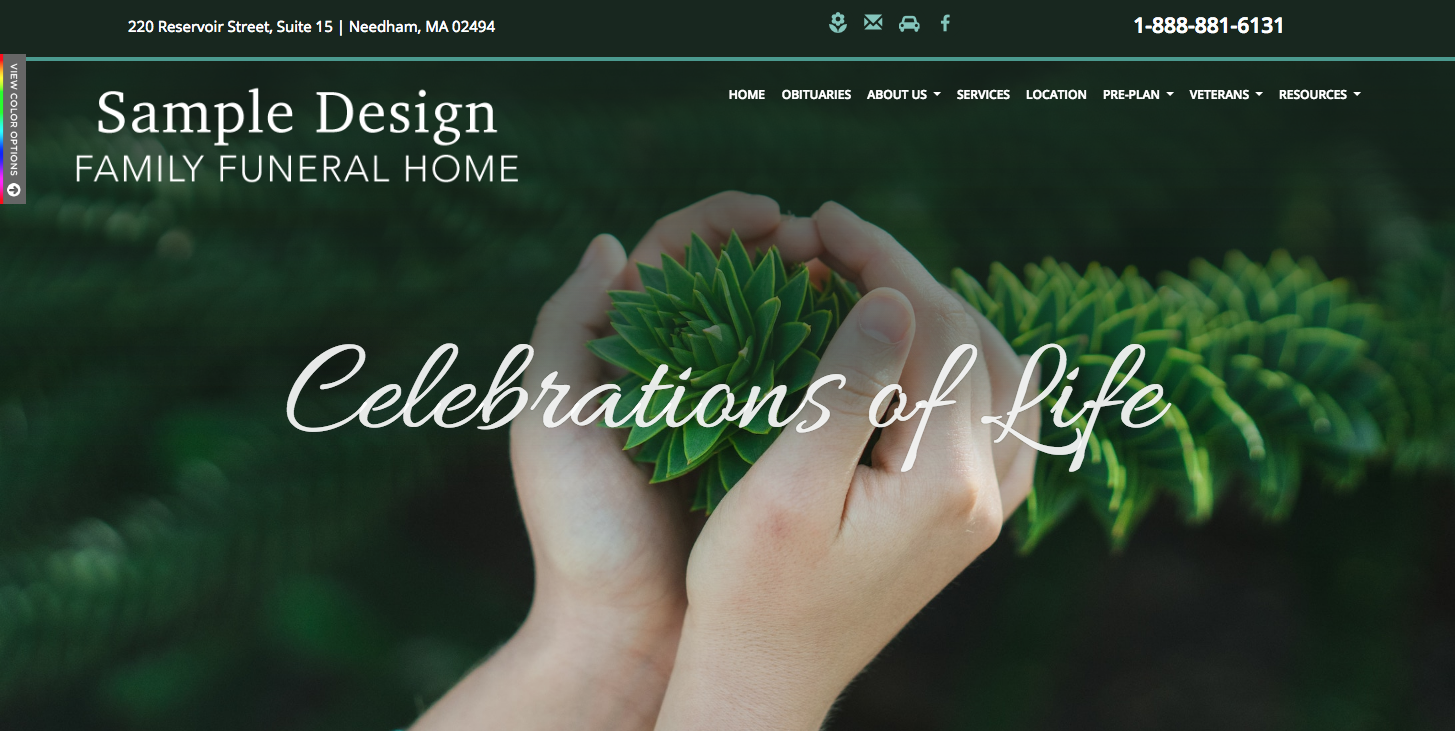
The new image collection will now appear in place of the previous banner.
Troubleshooting Tip
If you cannot access the orange button, your design may have other objects layered on top of it. At the top of the banner, click on the two arrows pointing away from each other. This will expand the section, separating each layered object. This should give you access to the banner.

If there is no orange button in the corner of your banner, the collection is defined in site code. Email support@runcfs.com for help with changing the image collection.