Change settings on all obituaries through the admin side of your website.
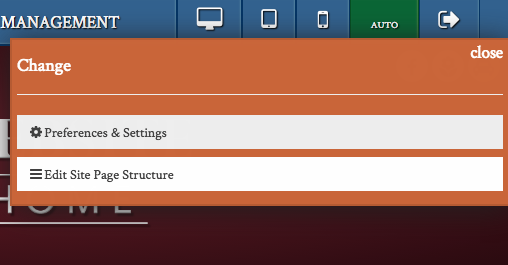
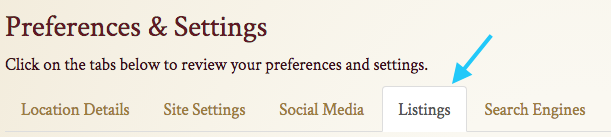
To change obituary settings, first click on the "Settings" button in the menu bar on the top of the page. From the drop-down menu, select "Preferences & Settings."
Navigate to the “Obituaries” tab under the “Preferences & Settings” header.

Terminology
At the top of the page, you can adjust the terminology used on obituaries. Changing the word used for obituaries will reflect as soon as you save your changes.
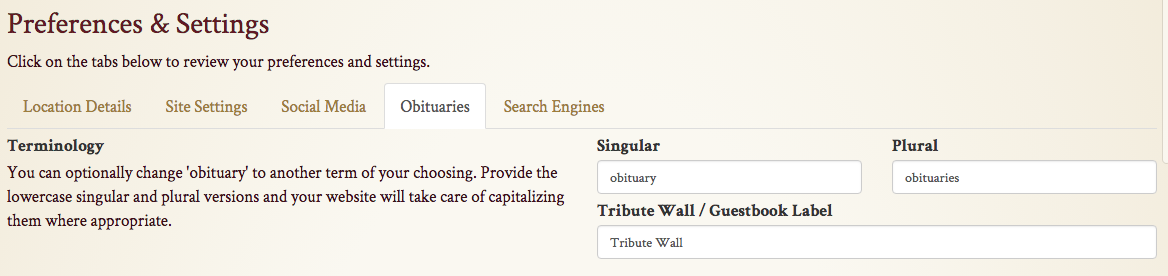
Enter both the singular and plural forms of the word or phrase. You can also change the title of the online guestbook.
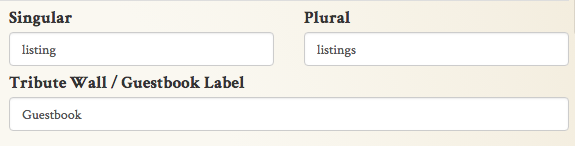
These custom labels will populate on every obituary on your website.
This will also change the tab on the “Preferences & Settings” page from “obituaries” to your custom term.
Feature Selections
Below the “Terminology” section is “Feature Selections,” where you can enable Memoriams integration and the Funeral Care Fund. Click the check box next to either option to enable them on all obituaries.

Guestbook Options
Here you can toggle approval for condolences and other posts. We highly recommend reviewing entries to avoid any inappropriate messages from being posted on your website.
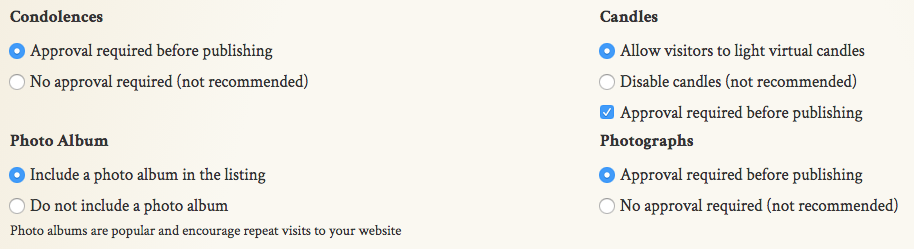
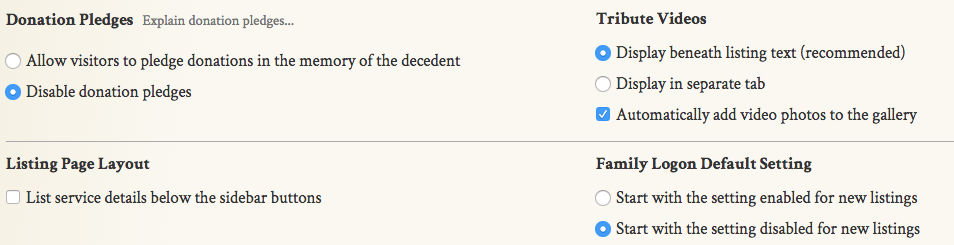
Underneath guestbook submission settings, you can toggle donation pledges and other features. In the “Tribute Videos” section, you can prevent Tukios sending photos to the guestbook from the completed video by unchecking the box on the bottom of the section.
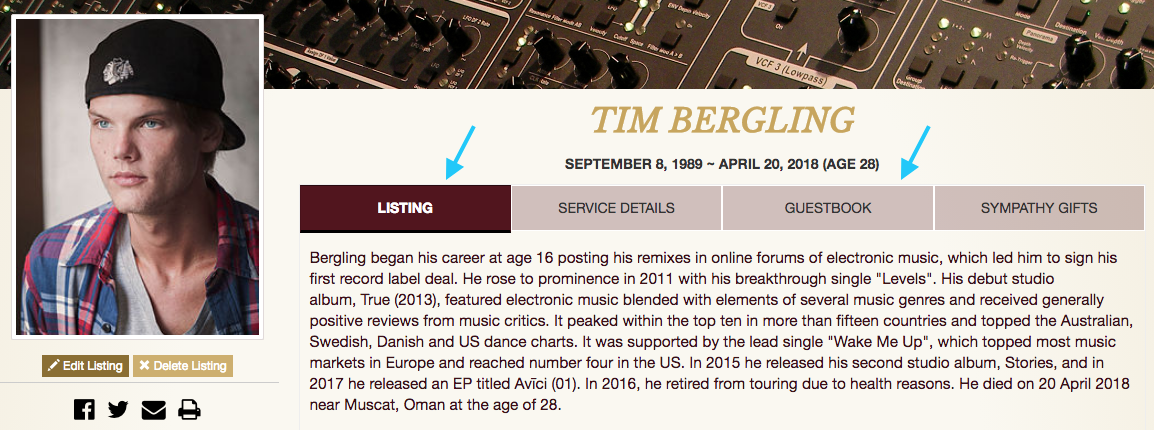
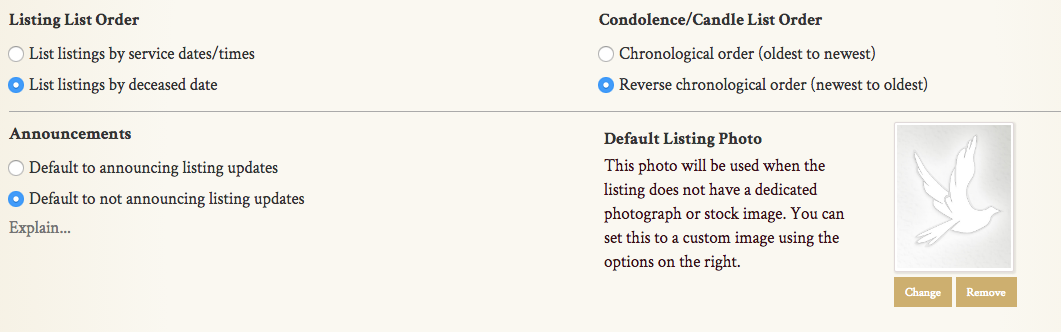
Listing Options
The settings below change listing order for both obituaries and guestbook entries. You can also add a custom default listing photo. This placeholder is used for all obituaries posted without a photograph or stock photo.
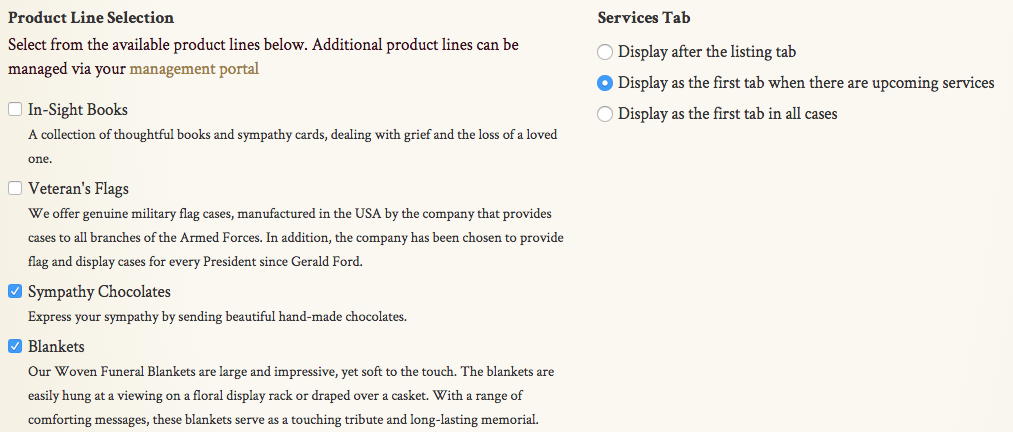
At the bottom of the page, you can add and remove product lines from your website. You will receive a commission on all orders placed on your website, including these products. You can also change how services are displayed in obituaries.