Learn how to post obituaries to your website from basic information to various available personalization options.
Obituaries on CFS websites have numerous personalization options and are optimized for SEO and user engagement. If you have any questions about adding obituaries, don’t hesitate to give us a call at 1-888-881-6131. We’re happy to help you get started with your CFS website.
Basic Information
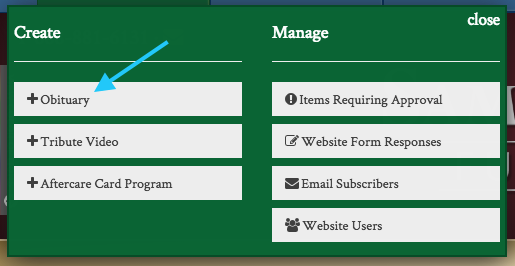
The basic information you’ll enter into every obituary includes the name of the deceased, death date, obituary text, service details, and a photograph. When logged into your website, click on the green “ADD” button in the top left corner of the website.

A drop-down menu will appear on the screen. Under the “Create” section, click on “+ Obituary” button.
You will now enter the “Add Obituary” screen. If you want to save your obituary as a draft and not live on the website, uncheck the box in the top right. This will allow you to send a private link to the family if they wish to review the listing before it is made public.
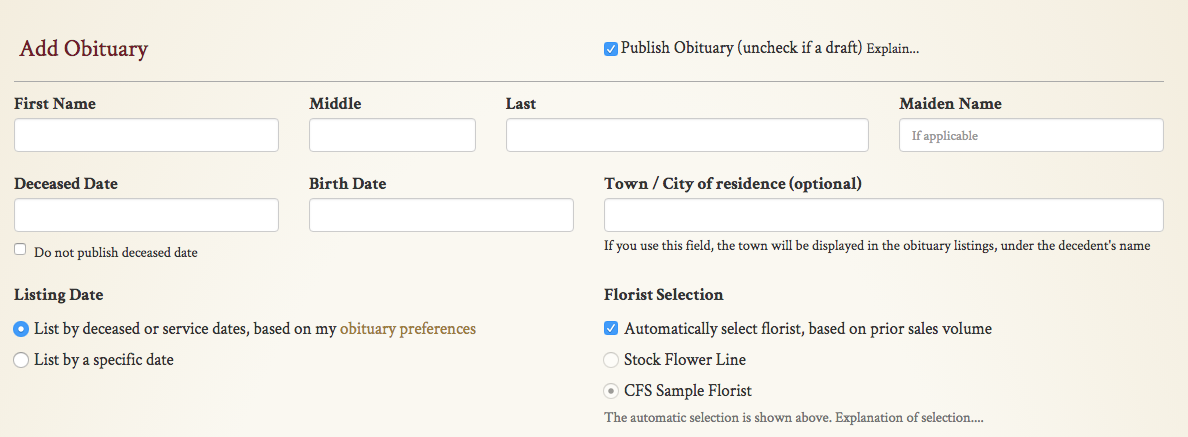
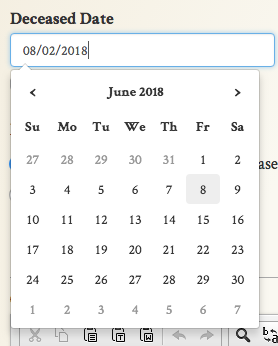
To begin, enter the name of the decedent. When entering the deceased and birth date, you’ll be presented with the date picker. Clicking on a day will enter it in the box with correct formatting.
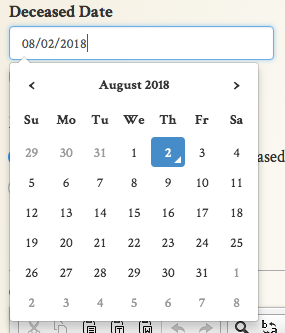
To move between months, click on the month and year header.
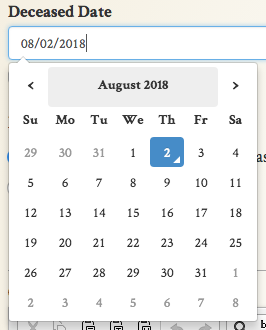
You can click on a month within a year and click on the day.
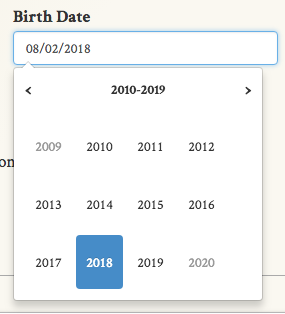
You can back into decade view by clicking on the month and then year headers. Then, use the left and right arrows to scroll through years. If you prefer, you can also type directly in the date box.
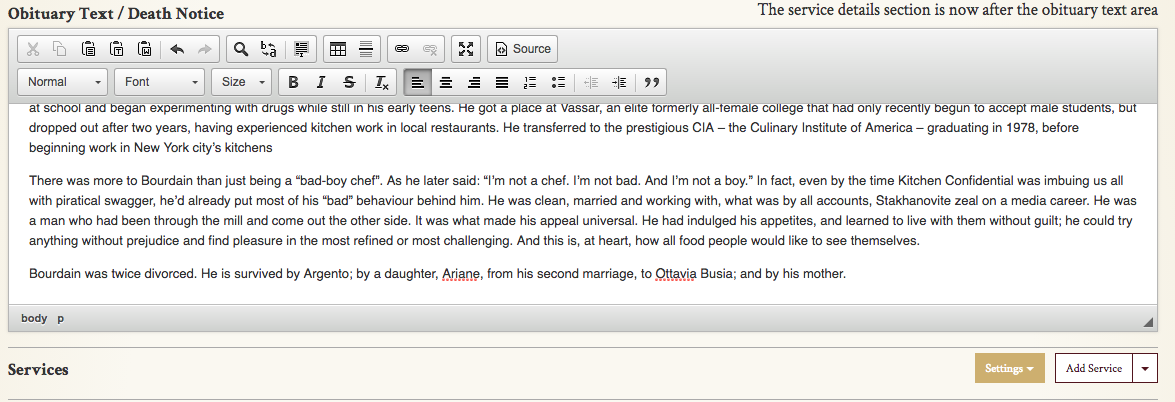
You can type or paste text directly into the “Obituary Text / Death Notice” section of the page. After pasting text, you can continue to edit the notice directly.
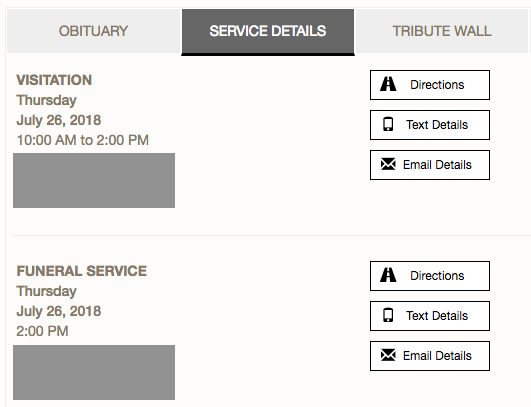
Even though service details may be given in the obituary text, it’s very important to add services in the “Services” section below the obituary text. Service details will be generated and displayed on another page, allowing visitors to your website to email and text directions to the services from your website.
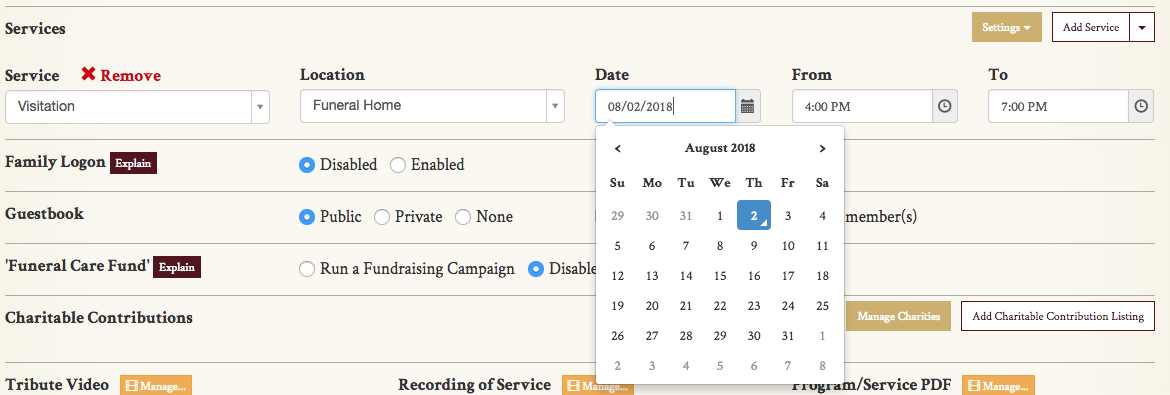
Service details are also important for ordering flowers. Orders will be collected for specific services, allowing the system to cut off ordering when there is not enough time to fill an order. The system will automatically push service times and location to the filling florist. The system will not be able to provide this information or cut off ordering if service details are not provided. Below is an example of populated service details.
To add a service location, click on the “Settings” button on the top right of the “Services” section.

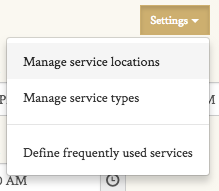
A drop-down menu will appear. Select “Manage service locations” to bring up a popup window.
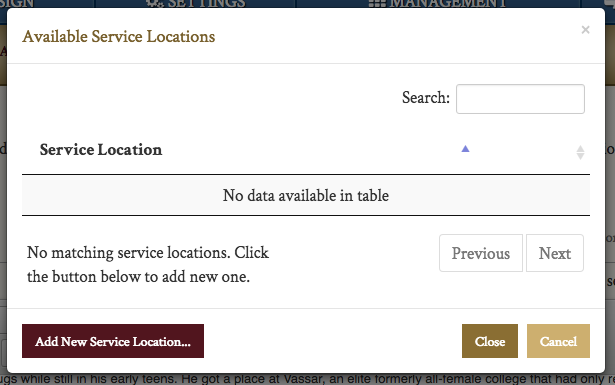
This window will save all service locations you add to your website, allowing you to select them on all obituaries moving forward. Click “Add New Service Location” in the bottom left of the window.
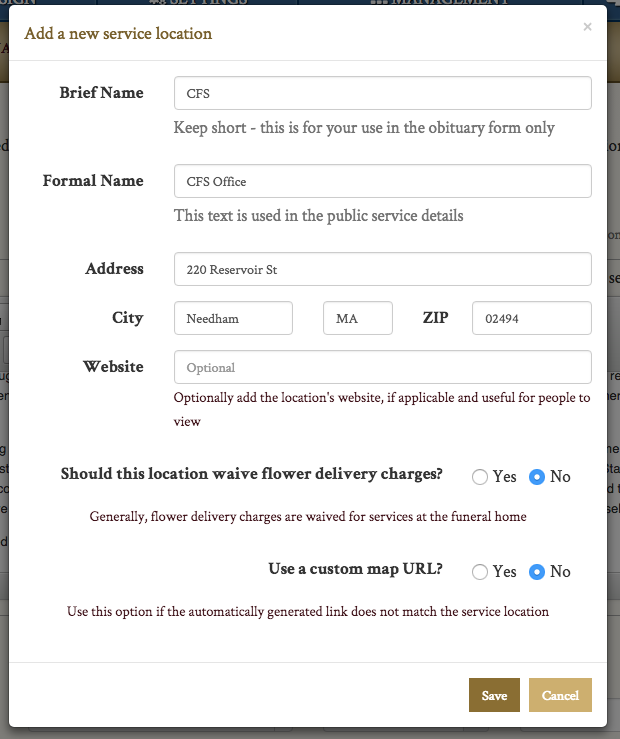
Enter the location information on this page. The “Brief Name” is for admin use only, allowing you to scroll through locations when adding an obituary. Be sure to save the location in the bottom right to add it to your website.
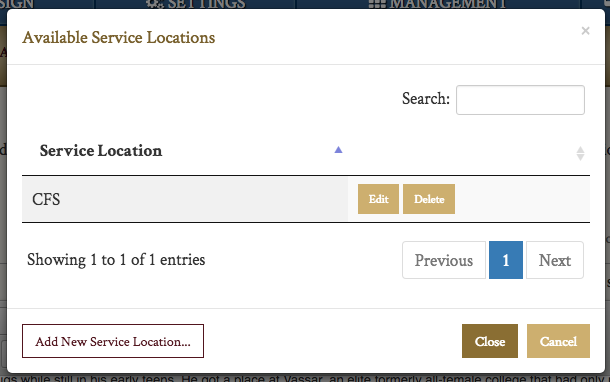
You will now be able to view this location at any time under the “Manage service locations” option. To edit or delete a previously added location, use the two buttons on the right side of the listing.
To add a service detail to the website, click on the “Add Service” button to the right of “Settings.” Each time you click this button, a new service listing will be created. You can click on the red “X Remove” button to remove a service listing at any time.

Click on the drop-down for service type and location to select from your saved entries. To add service types, click on “Settings” and “Manage service types” from the drop-down menu. The service types and locations pages both function the same way.
To add a picture, scroll to the bottom section of the screen. You should see a bold header that says “Photograph(s)” next to “Notification Option.” Click on the pencil next to “No photos added.”

The photo uploader will pop up on the screen. You can either click and drag a photo into the box directly from your computer or the “Add Files” button on the gray bar. When you have added the photo(s), click “Start Upload.” When the percentage in the bottom right has reached 100%, click on the “Close” button in the bottom right.
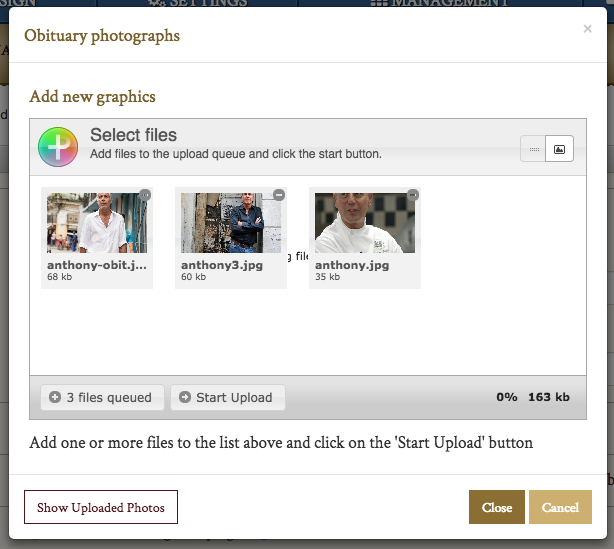
Clicking on the pencil button again will allow you to edit the photos you have already added and upload new ones. Photos will rotate in the obituary, but only one will be shown on the home page. To select a photo, click the “-” button below the picture to flag it. This will be the first photo displayed, as well as the one that appears on the home and obituary pages on the website.
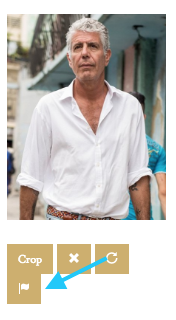
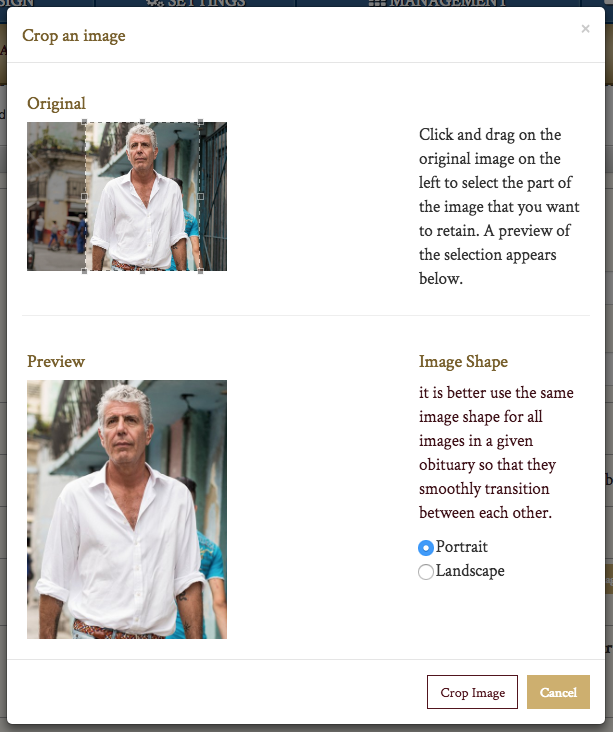
You can rotate and crop photos in the editor, as well. To crop a photo, click “Crop” underneath the picture you want to adjust. Use the dashed box in the cropping tool to select the section that will be displayed. Click “Crop Image” in the bottom right corner to save your changes.
What if I don't have a photo?
If you do not have a photo of the deceased, you can either leave this section blank or choose a stock photo. If left blank, the default obituary image listed in site settings will be used. To choose a stock photo, select the pencil button in the “Stock Photo” section directly below “Photograph(s).”

Use the buttons in the top left to navigate through the categories. To select an image, click on it. The photo will be selected and the window will close. You can change the photo at any time by clicking on the pencil button again.
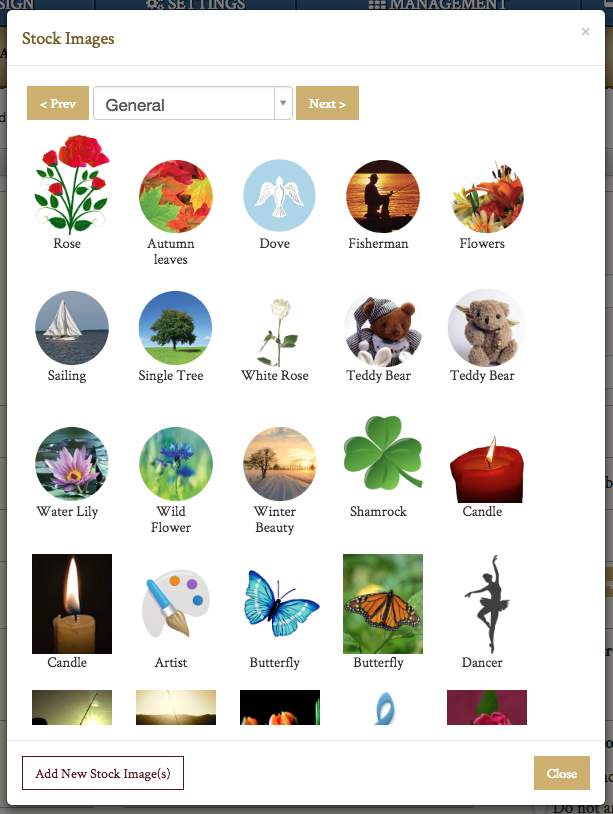
If you upload a photograph and also select a stock photo, the stock photo will appear in the body of the obituary text.
After you have entered all of the obituary information, be sure to click the “Save Obituary” button at the bottom of the screen. This will create the obituary on your website and bring you to the screen showed below. From here, you can view the obituary you have just created or add another one.

Personalization Options
Family Logon
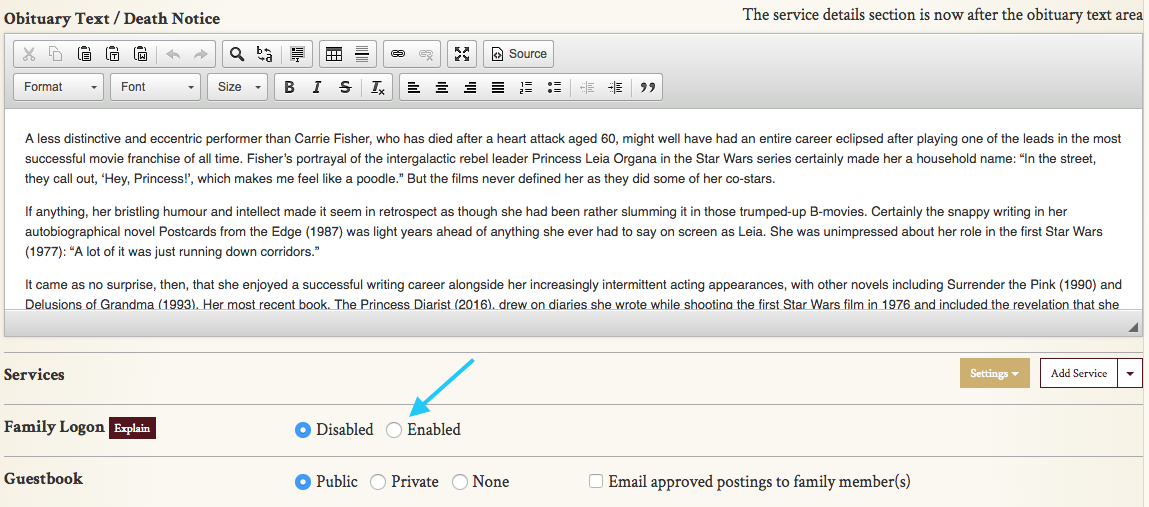
Below the “Services” section is the option to enable Family Logon. This feature will allow a family member to directly post to the guest book and photo gallery (without requiring your prior review), as well as edit, delete or approve content posted by others. Family members can also add accounts for other family members. Family members cannot make changes to the obituary itself, as this may typically lead to differences of opinion between individuals.
Guestbook Privacy
Should the family request it, the online guestbook can be made private on any obituary. A private guestbook can be viewed when logged into the website, but not from the public side (hence, you could logon to print the guestbook for the family). To allow the family to view condolences, either check the box next to “Email approved postings to family member(s)” or enable the Family Logon feature. While emailing approved postings means that you can review messages before sending them to the family, the Family Logon feature will allow a family member to review all pending messages.
You also have the option of removing the guestbook, perhaps if requested by the family. Selecting “None” will prohibit people from posting condolence messages.

Tribute Videos
CFS websites are integrated with Tukios, allowing you to quickly create outstanding memorial videos. Once created, Tukios videos are automatically included within the obituary and allow family members and friends to order copies. You receive a commission from each order placed.
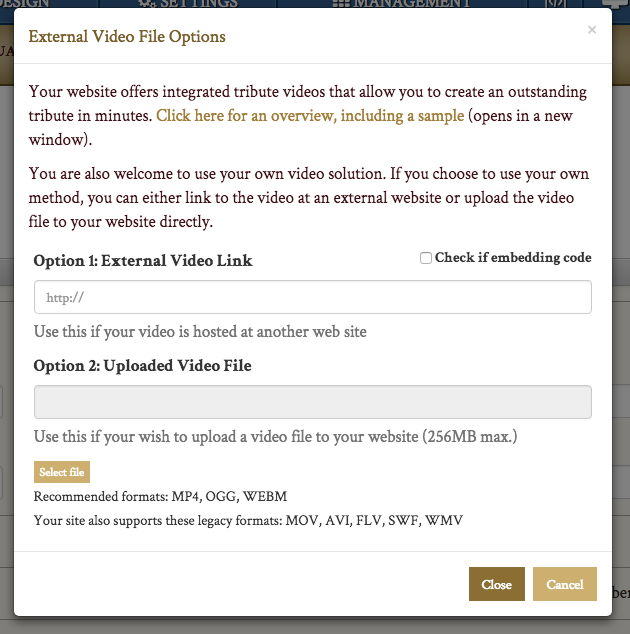
If you use another memorial video provider, or create videos at your funeral home, you can upload them in the “Tribute Video” section. Click on the “Manage” button next to the “Tribute Video” heading.

The pop-up box will allow you to either add a video hosted on another website or upload a file from your computer. Be sure to click “Close” in the bottom right corner and save the obituary to upload the video.
Background Music
To add background music to an obituary, click on the pencil underneath the “Background Music” section, directly left of “Photograph(s).”

To play a sample of each song, click the play button on the far right of each listing. Click the “Select” button to choose a track. You can also search for specific songs by using the search bar in the top right.
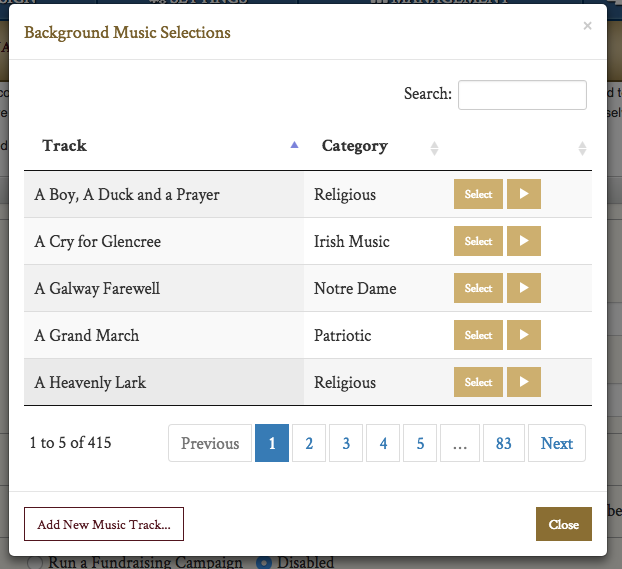
CFS licenses the 415 song library available for use. While you can add tracks by clicking the button in the bottom left, be sure to use songs that are either licensed by your funeral home for public use or are royalty free.
Background Image
A background image will be placed behind the obituary text. Click the pencil below “Background Image” to browse through our stock collection. Use the buttons in the top left to scroll through categories. Select a photo by clicking on it. This will automatically close the box. You can edit the photo by clicking on the pencil button again, or remove it by clicking on the “X” beside it.
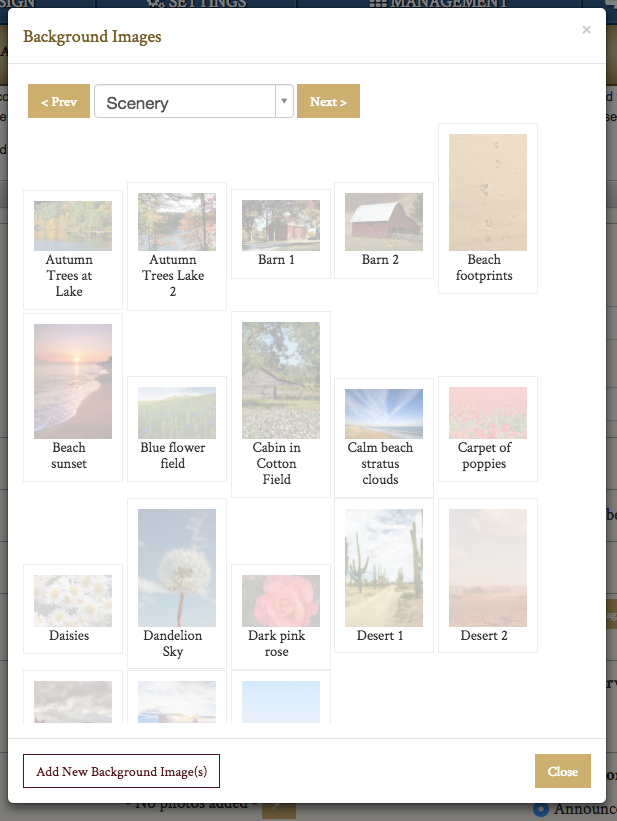
You can also upload a background image by clicking the button in the bottom left of the box. Our system will automatically fade the picture so that text can still be clearly seen in the obituary. Once you have added a custom background image, it will be saved to your website and can be added to any obituary.
Stock Photo
To choose a stock photo, select the pencil button in the “Stock Photo” section directly below “Photograph(s).” Use the buttons in the top left to navigate through the categories. To select an image, click on it. The photo will be selected and the window will close. You can change the photo at any time by clicking on the pencil button again, or remove the photo with the “X” button beside the pencil.

Obituary Theme
The obituary theme is a banner image used on the top of the obituary listing. To select a theme, click on the photo.

Use the buttons in the top left to scroll through categories or click on the drop-down menu to search for a specific category. To select an image, click on the preview. The title of the image will appear in the footer of the box. Click “OK” in the bottom right corner to set the image.

You can also select a theme as the default image for all obituaries by selecting an image and checking the box below the image title in the footer. Keep in mind that all obituaries that have not had their image selected manually will be changed to this theme across your website.
